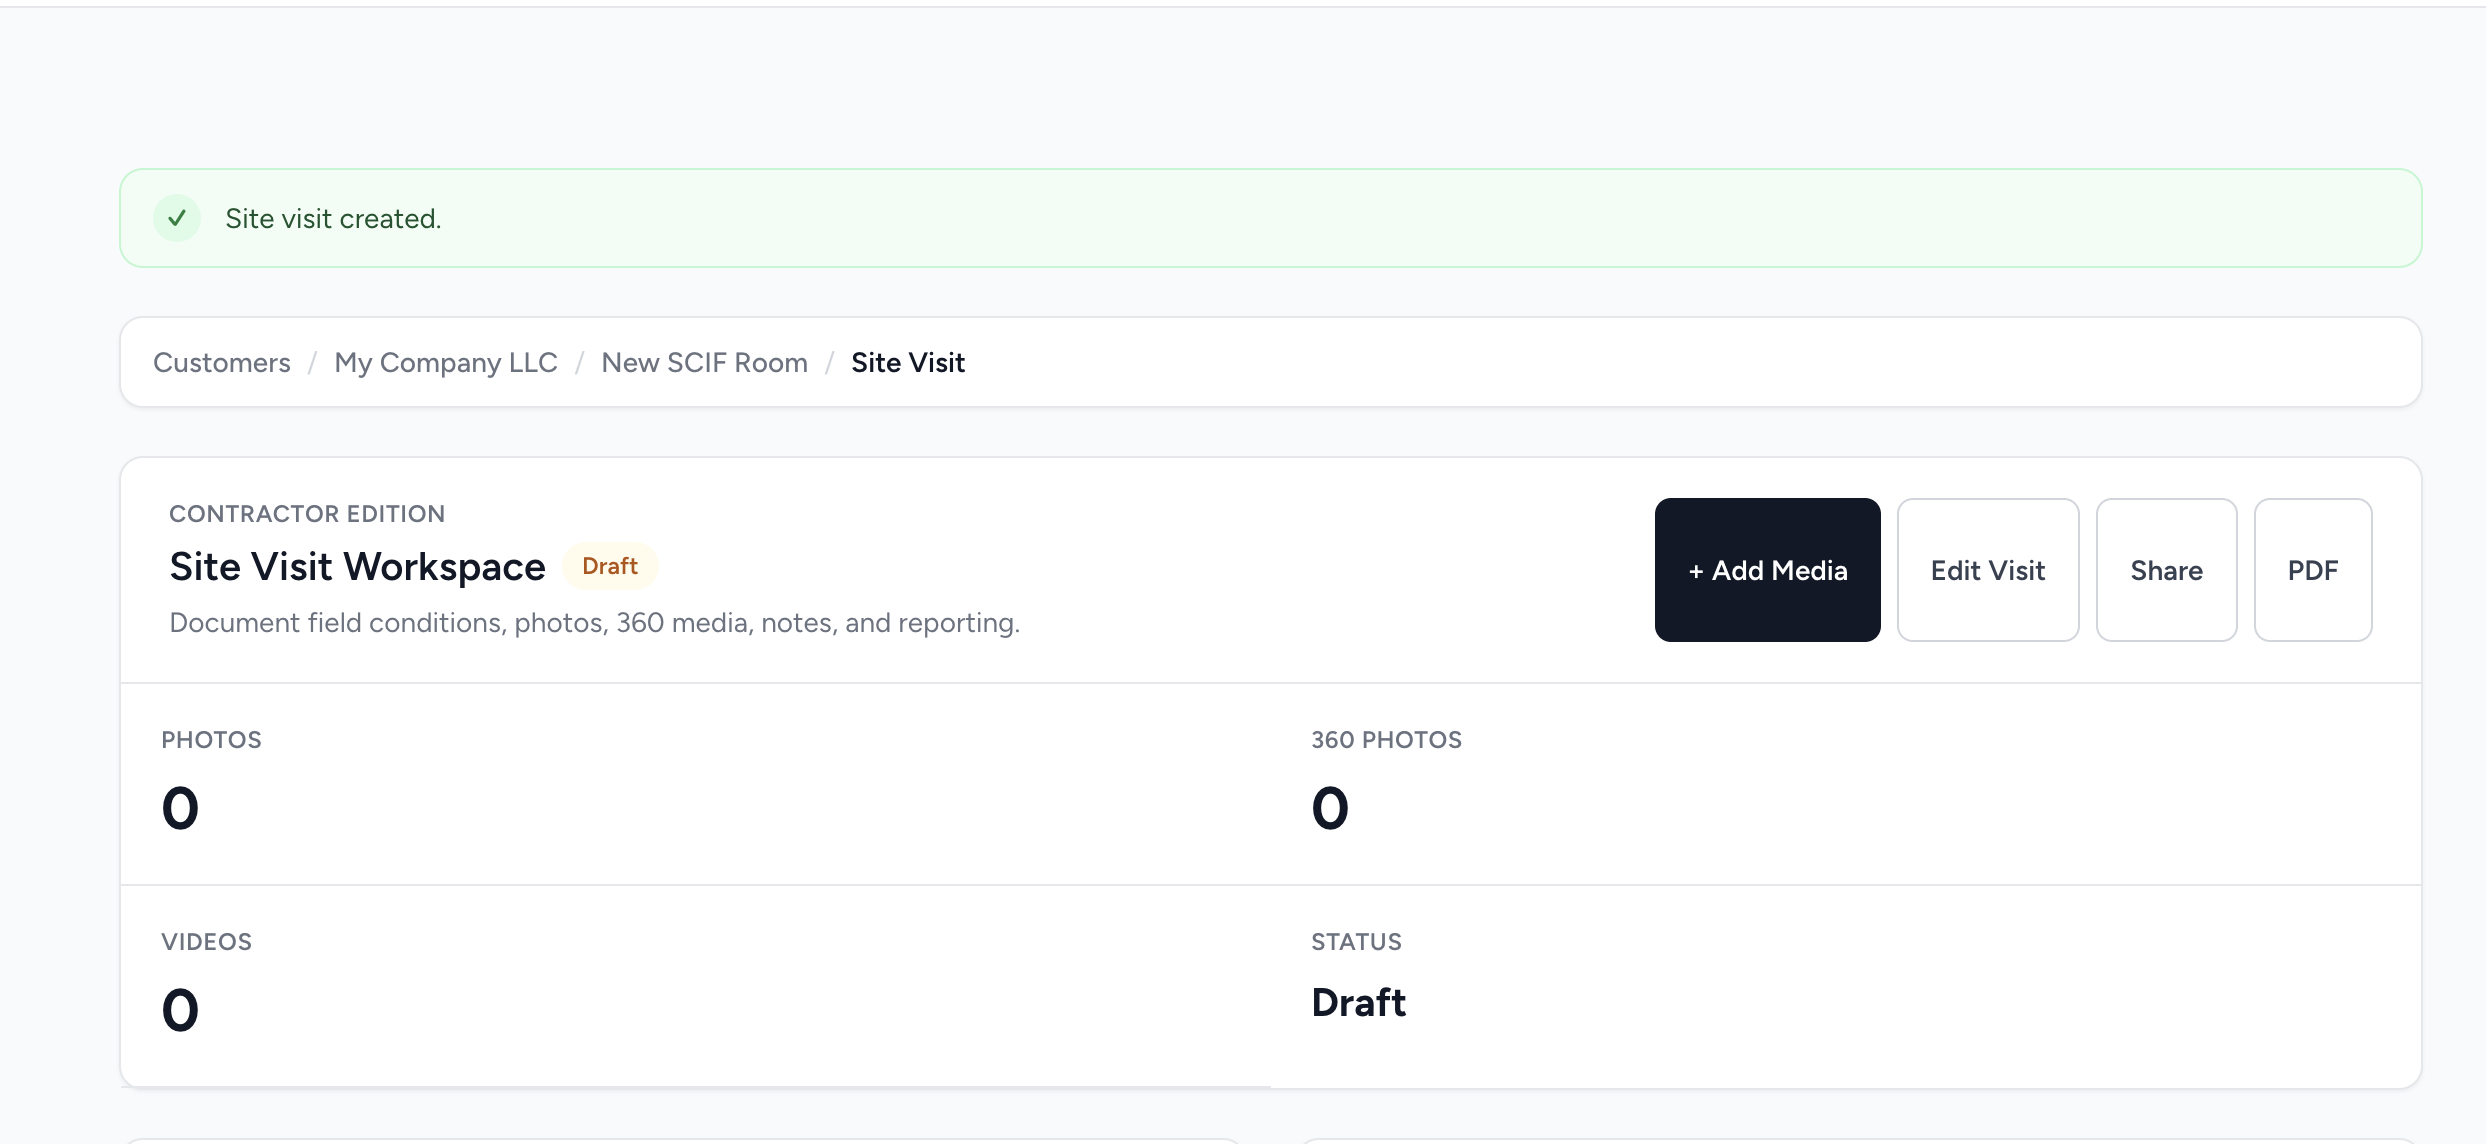
Site Visit
From your first customer to a shared report
Set up customers and projects, document a site visit, add photos and 360° media, and share a read-only report.
Read the guideFIELDNOVI SUPPORT CENTER
Practical how-to guides for your next step in FieldNovi.
Find the answers you need and get back to the field.
NEW TO FIELDNOVI?
Confirm your workspace, set up the people and details, and follow one complete workflow before starting the next.
Activate your account, accept a team invitation when needed, and check where new records will be saved.
Check the setup order →Customer → project / job → Site Visit or Punch Walk. Keep field observations and issue photos with the right record.
Follow the Site Visit guide →Property → contacts and occupancy → inspection. Add room photos, assign 360° snapshots, then complete and share.
Follow the Property Inspections guide →Quick reminder: choosing a photo is not an upload, and saving a checklist does not complete the inspection. Check the saved message, finish uploads, and use Complete Inspection.
LEARN AT YOUR OWN PACE
Clear steps. Real screenshots.
Help when you need it.
14 guides available
From your first customer to a shared report
Set up customers and projects, document a site visit, add photos and 360° media, and share a read-only report.
Read the guideRecord issues. Add the details. Share the next steps.
Create a Punch Walk, record punch items with photos and drawing references, review the PDF, and share it with the right contacts.
Read the guideGet from registration to your first sign-in
Register for FieldNovi, activate your account by email, and sign in. Resend the activation email if your link has expired.
Read the guideMake the workspace yours and find your next task
Set workspace information and your logo, check storage and usage, and use Recently Viewed and Quick Actions.
Read the guideFind a record without retracing your steps
Search for customers, projects, contacts, and properties in the current workspace, then open the matching record.
Read the guideKeep personal and team work in the right place
Switch between the personal and team workspaces you belong to, and confirm where new records will be saved.
Read the guideKeep contact details and record relationships organized
Create and edit contacts, review Active and Archived entries, and see which records are associated with each contact.
Read the guideSend an invitation and get a teammate into the workspace
Invite teammates with the right role, manage pending invitations, and accept an invitation using the matching email address.
Read the guideKeep your name and password up to date
Open your Profile from the account menu, change your name or password, and save the updated information.
Read the guideChoose a plan and manage the selected workspace’s billing
Check your workspace plan, subscribe through Stripe, and manage payment details, plan changes, and invoices.
Read the guideDownload your data and manage the 30-day recovery period
Export business records, download original files, and schedule workspace deletion with a 30-day recovery period. Manage billing separately.
Read the guideSave a trusted browser and manage its 30-day permission
Use Remember me and Remember this device for 30 days, review Active and Inactive saved devices, and remove browser trust from your Profile.
Read the guideChoose your workspace. Set up the basics. Finish your first record.
A practical quick start for account activation, team workspaces, contacts, Contractor Edition, and Property Inspections, with links to the detailed how-to guides.
Read the guideAdd a property, document its condition, and share a completed report
Set up properties and occupancies, link contacts, complete room checklists, add regular and 360° photos, assign snapshots, and review baseline comparisons.
Read the guideTry a shorter phrase or show all topics. You can also email Support for help.
More how-to guides will be added here. Need help with another part of FieldNovi? Ask Support.
PICK UP WHERE YOU LEFT OFF
WE’RE HERE TO HELP
Tell us what you were trying to do, what happened, and the customer or project involved. Include a screenshot if you can.